A few weeks ago, I had the priviledge of doing the decorations for a 50th Anniversary Reception. It was for my friend and mentor and she pretty much let me have free reign with my ideas. I love when people say that! Since the blue hydrangeas were in full bloom, I decided to use them. A sweet friend and my sister in my neighborhood let me explore their yards and cut the best blooms from their hydrangeas. It was so much fun.

I collected them in this bucket and I had to snap a few shots before I got started with the arrangements. I made the tissue paper flowers and the little cute lantern came from Ikea. Aren't they the perfect color of blue?
Aren't they the perfect color of blue?The picture below is the guest book table. I used a silver tray from the thrift store and painted it with chalkboard paint.

 Some friends did the food for the party. It was pretty and yummy! I used a black damask piece of fabric down the center of the food tables. I layed nandina leaves here and there on the tables. They came from my yard and last for a long time without water.
 For the drink table, I used some crushed velvet and 3 squares of the same damask fabric. I then laid the extra hydrangea blooms down for color. These were from a 50 year old hydrangea bush and were a little more purple.
 I love the way the hydrangeas looked on the cake too.
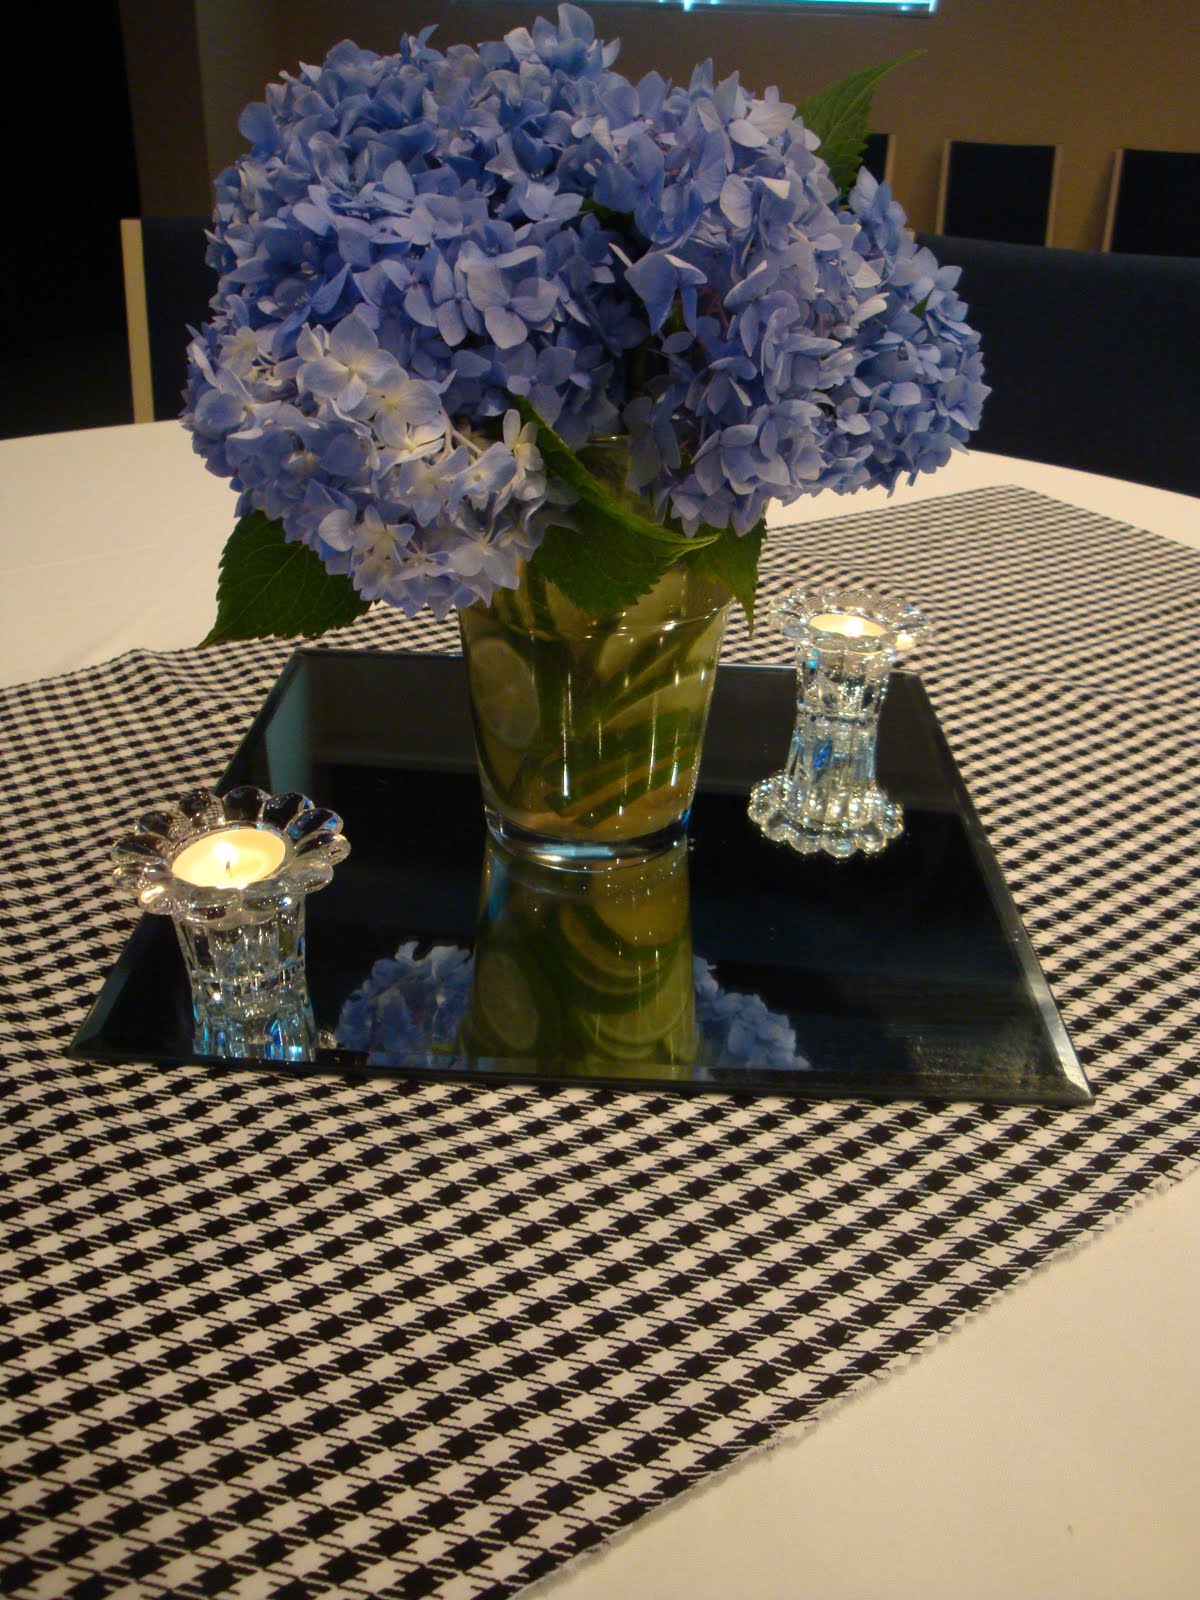 Each round table had a different black and white runner. I filled a vase with sliced limes and just added some flowers and candles on the mirror. Very simple!
 I used hurricanes on some tables with flat glass circles at the bottom in water, topped with reindeer moss and a hydrangea bloom or two.
 Here is a different style hurricane with the same arrangement on different fabric.
 I even added a few polka dots for fun.
 This was the large arrangement on the food table. I used 3 different types of flowers from Publix to fill in between the hydrangeas and some nandina leaves. I filled the bottom with whole limes.


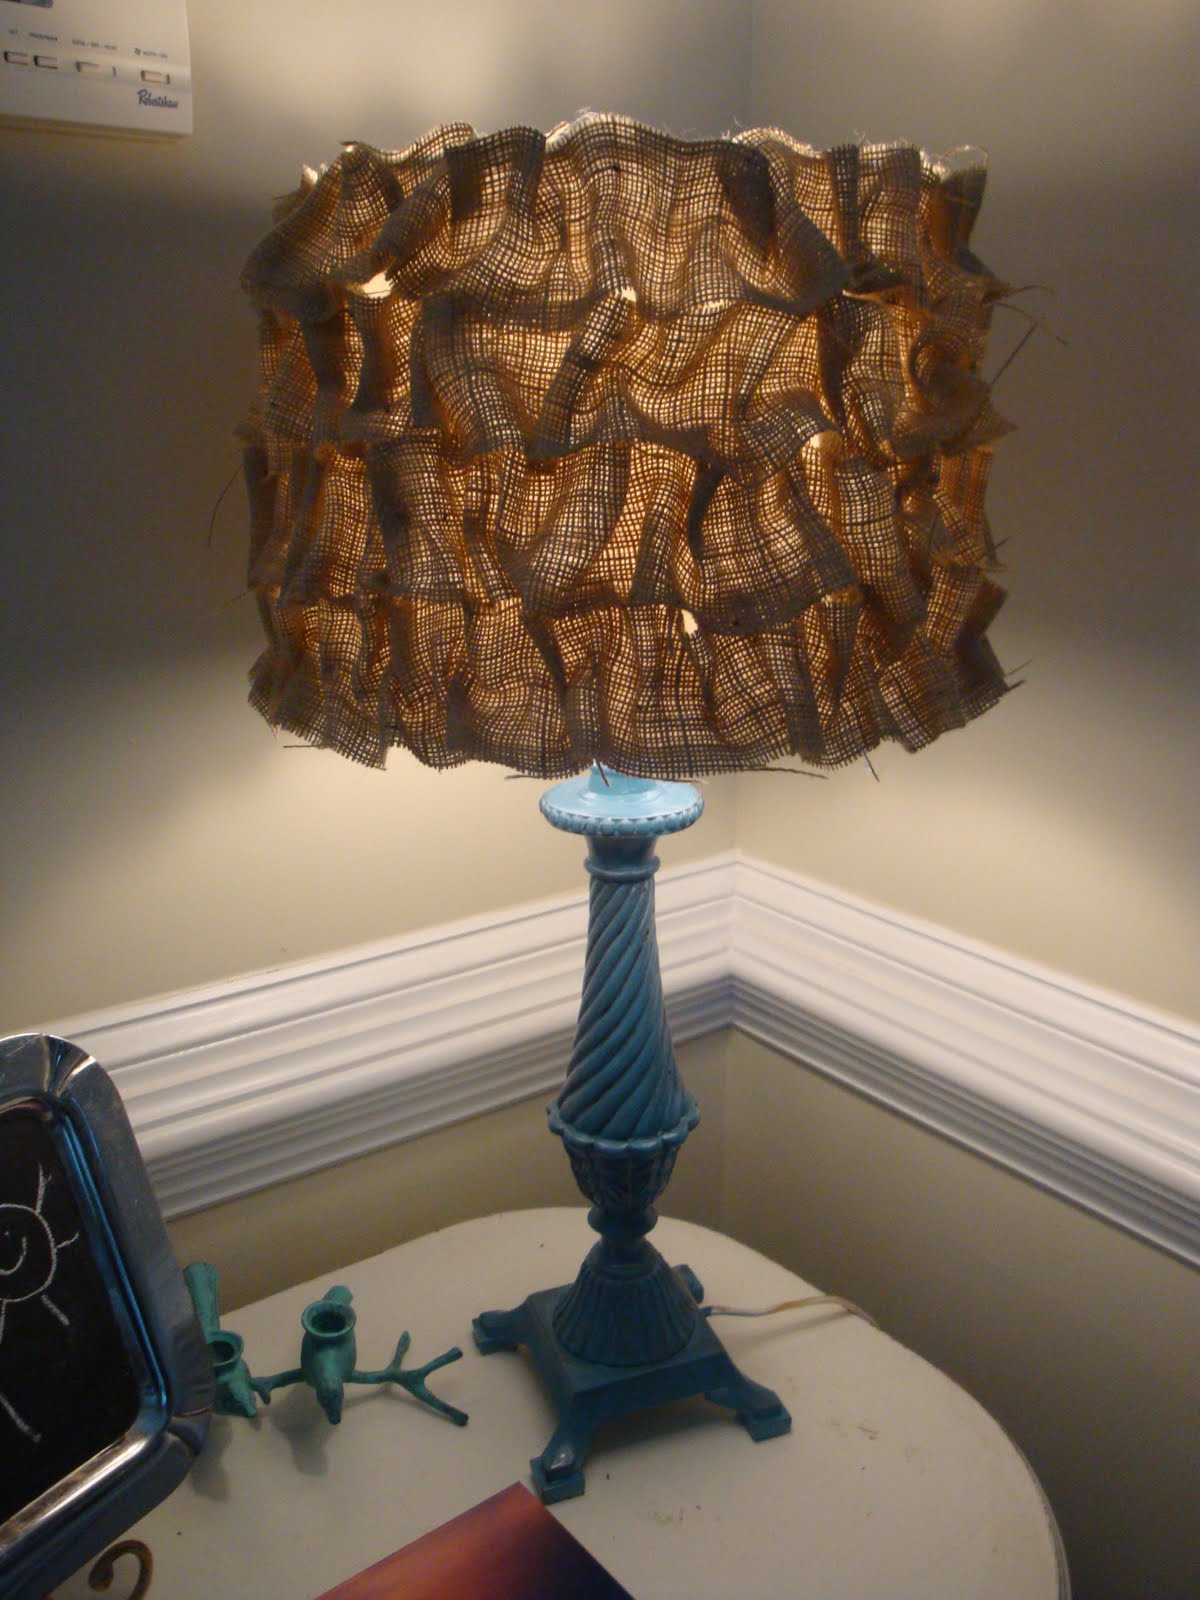
 I was inspired by this lampshade on


 If you are lucky, your kids will be playing superheros together very nicely while you are working because it does take some time.


