
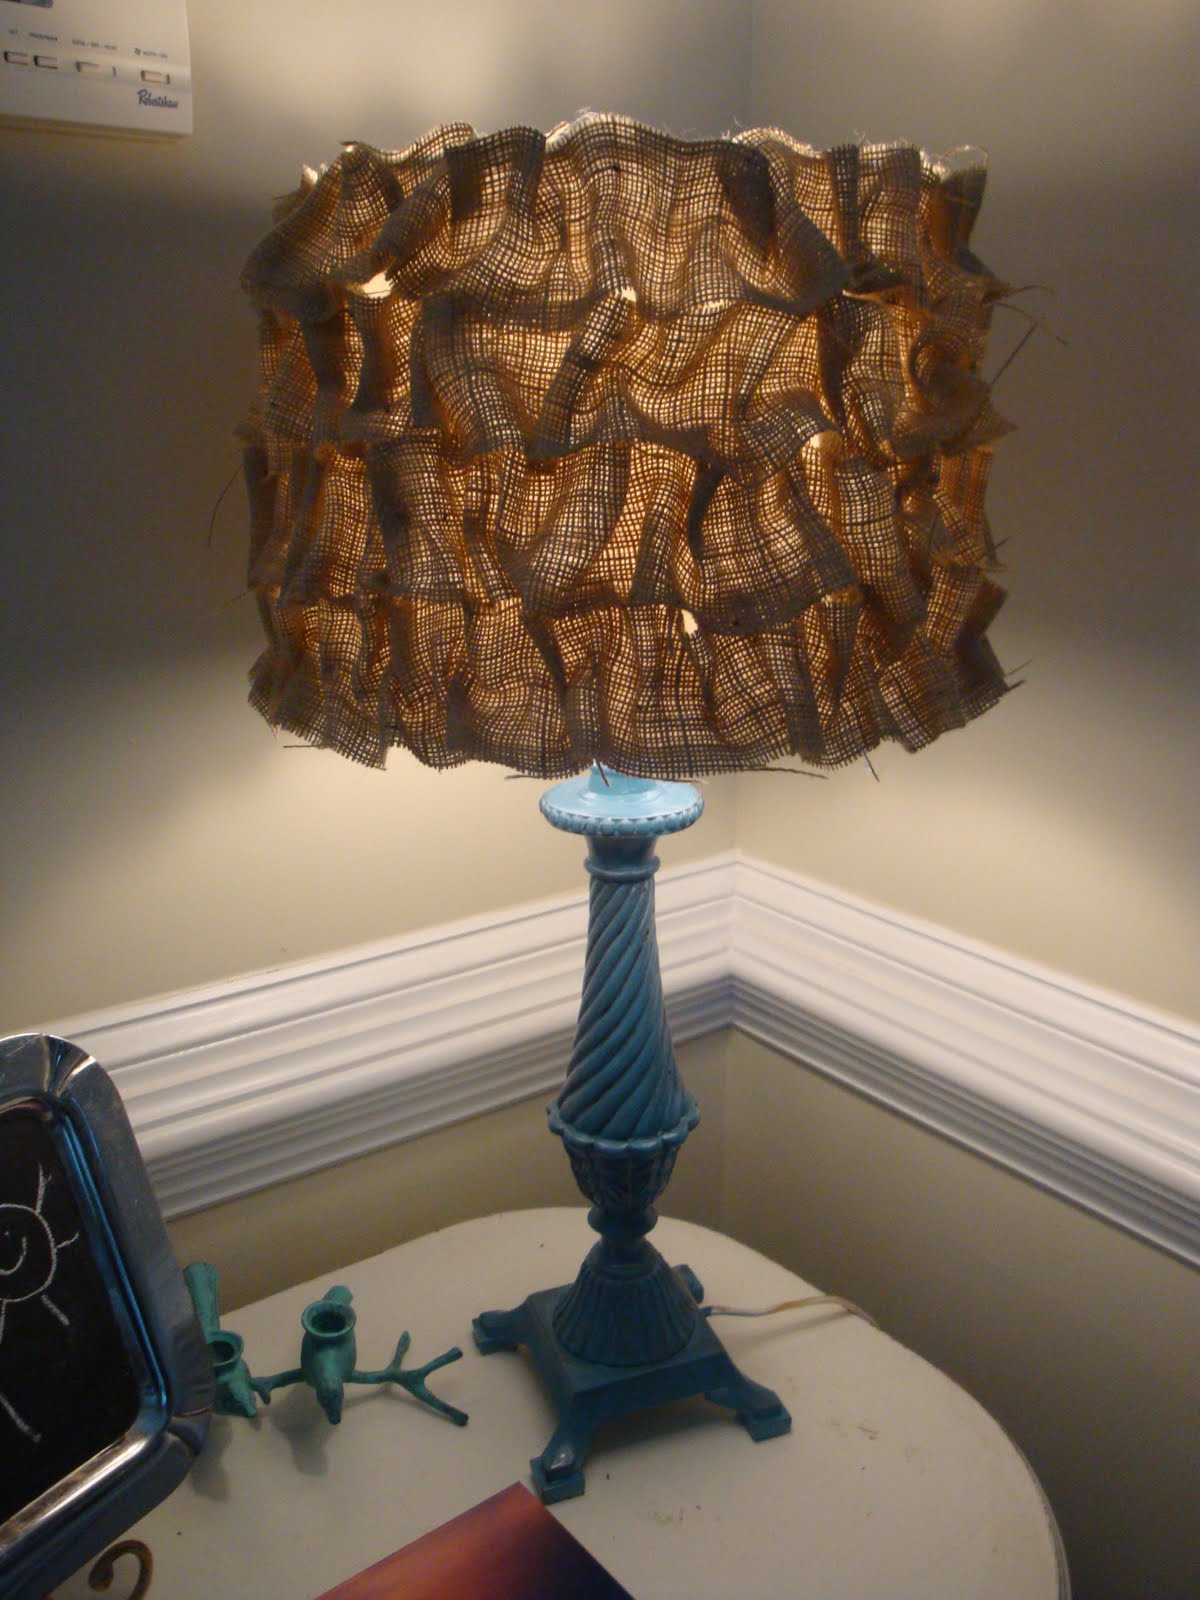
 This is the burlap ruffled lamp shade I made for this turquoise lamp I spray painted a color called Bahama Sea. I did it the lazy way, but I think it turned out pretty good!
 I was inspired by this lampshade on Dear Lillie, but was not in the mood to sew, so I used my favorite tool, the hot glue gun. She does have a tutorial with the "correct" way on her blog if you want to check it out here.
Here is how I did mine:

First I cut about three 6ft. burlap strips about 2 inches wide. Try to keep them as straight as possible, but it does not have to be perfect. You might need more or less burlap depending on the size of your shade.

Warning: If you do this on the floor, your dog might want some attention and get this close to your face.
 I used a medium size drum shade from Target and started hot glueing the burlap strips around the shade making the ruffles as I go and glueing them down. I used my fingers to squish the fabric together if it started to get too flat.
 If you are lucky, your kids will be playing superheros together very nicely while you are working because it does take some time.
 When you are done, there will be some holes where the shade is showing through.
 Just put a dot of hot glue there and press the burlap down to cover the holes.
Note: In the other tutorial, she measures the shade first to determine the width of her fabric strips. That it probably a good idea. I did not do that in this case though and somehow it worked out perfectly.
 Here is the finished product all lit up. I love the texture it adds to this corner. I am glad to get this look without having to sew. I'd love to hear if you try to make one!

 Here is the finished product all lit up. I love the texture it adds to this corner. I am glad to get this look without having to sew. I'd love to hear if you try to make one!
Linking up to:


 Your stitch will look like this down the center.